last post. It really means so much to me to have such a beautiful community where I can open up so freely and receive such loving feedback from you all through your comments, Instagram messages, and emails. Thank you x 1 million. ❤️
Today I’m lightening things back up to talk about one of the easiest and best things you can do at home for your complexion and product absorption: shave your face. *gasp* You may have already heard the buzz around town about shaving your face. Or maybe you haven’t? Either way if you aren’t shaving your face already you’re missing out in a major way on an anti-aging and skin brightening secret. I’ve been shaving my face for a few years now after I watched a video tutorial from blogger, Courtney at Kerrently.com and I’m so glad I hopped on board the shaving express. On today’s post I’m sharing with you why I shave my face and you should too.
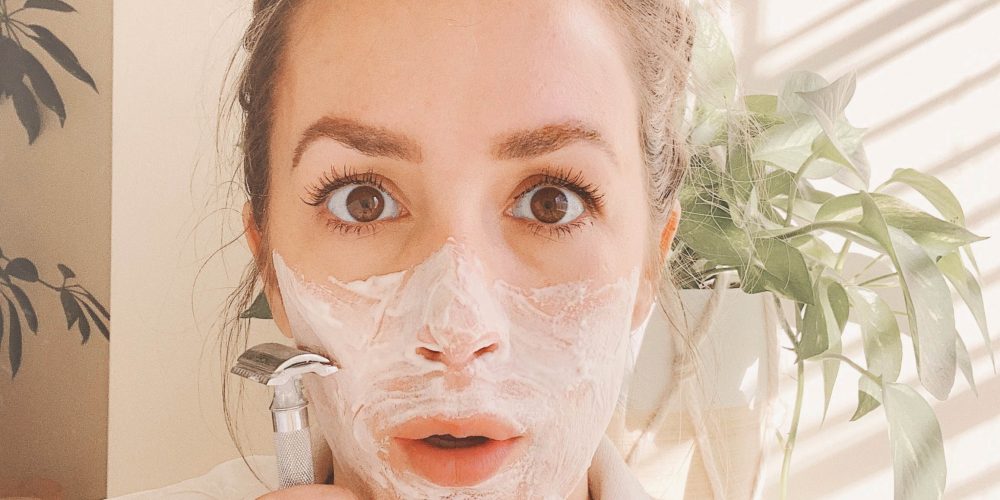
It feels so great to come out of the face shaving closet and shout it from the LtL rooftop. Seriously. I love it JUST as much as my PMD (personal microdermabrasion) tool I wrote about awhile back on my anti-aging skin care routine. I do both weekly and I can immediately tell a difference (with both), but specifically after shaving my face feels smoother, brighter and softer. Personally, I have combination skin, some dark spots from sun damage and hormones, fine lines, wrinkles and some serious peach fuzz. Oh and for the record IT DOES NOT GROW BACK DARKER. This rumor is so false I don’t know why people still think it’s a thing. It ain’t. ????
Why I Shave My Face: The Benefits
According to REN Dermatology, a local dermatology office here in Nashville, dermaplaning can be used for people with dry or rough skin, superficial hyper-pigmentation (dark spots), mild acne scarring, fine lines and wrinkles. Raise your hand if you fit any of these categories? ???????? Plus, it’s a great way of shluffing off that peach fuzz we ladies can get and really helps our products penetrate deeper into the skin and our makeup go on smoother. Game.Changer. Why spend all that money on product if it’s only doing a partial job?
My At-Home Dermaplaning Routine
*Disclaimer, this is just my own personal opinion and skin care routine. I am not a dermatologist. If you have questions about your skin and whether this is right for you, please (please) see your doctor. ???? (I’ll link all products below)
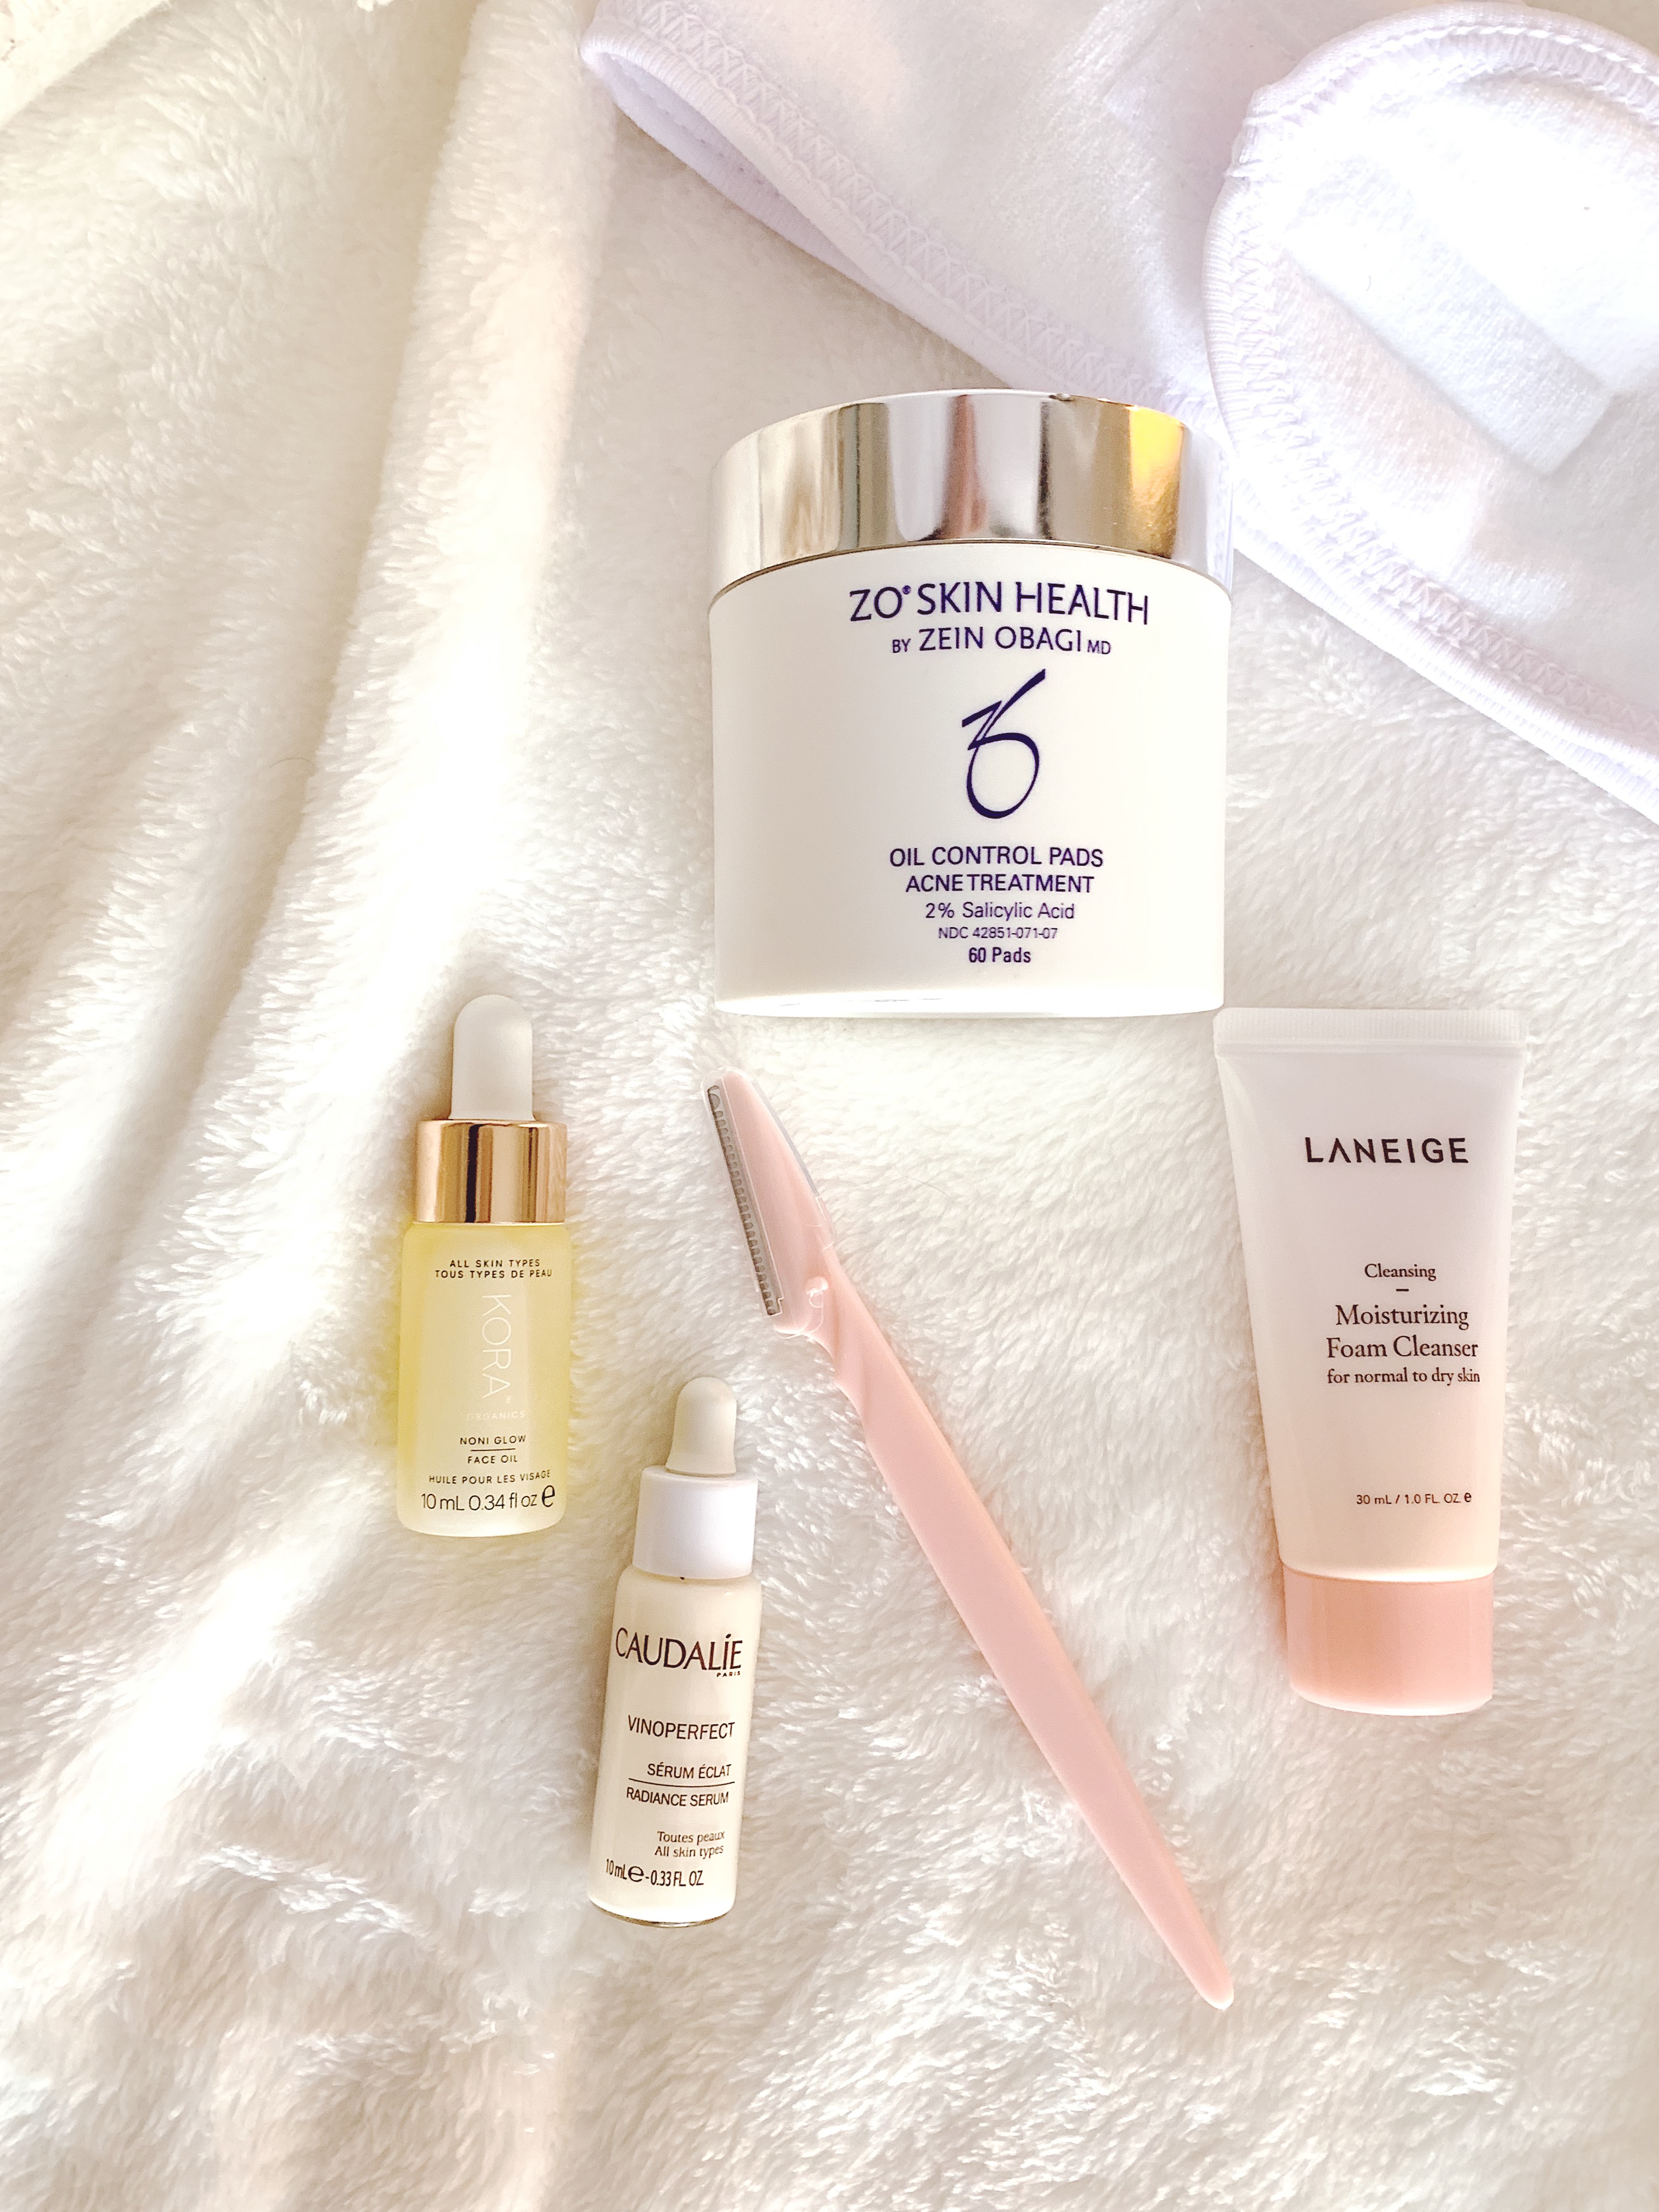
- Start with a clean face. I use my normal face wash and ZO Skin toner pads for an extra clean face before shaving. ZO Skin is one of my new favorite products I’ve been using the last few months and love it. It was recommended to me by my nurse practitioner for my adult acne.
- Apply your favorite face oil lightly all over. I used to dry shave, like for the first few years with no issues! I had the occasional razor burn around my jaw line but I think that was more due to my angling of the razor. I recently started using this face oil and really love the results. It feels like a closer shave and leaves my skin feeling moisturized through the whole process.
- I think there are other razors out there for this but my tried and true are the Tinkle Razors. They are SUPER cheap, so I just use one and toss it. I start fresh with a brand new razor every time. (We don’t want old bacteria on fresh skin!)
- Pull skin tight and start with small strokes moving toward your hair line. I start around my chin/ jaw line and slowly move toward my hair line. Make short, gentle strokes in one area. When you get around the ‘sideburn’ area, make sure to pull this hair up and away! You don’t want to shave that hair off and give yourself an incidental hair cut.
- I typically do my entire face. Yep. That’s right…allll the way to ma’forehead. This is more for the exfoliating aspect of the shave to help my products absorb. Proceed with caution around those brows, nobody wants a shaved brow. ???? But I do get as close as comfort allows to get those little blonde baby hairs around my brows.
- It’s a per person choice with how much you want to do. I usually go over my lower half of face again in a different direction, just for good measure.
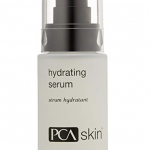
- Afterward, apply your favorite serum. I’ve been using this one for a few weeks now and really like it. I also use this serum and want to try this one and this one. Allow to dry and apply your moisturizer for the day (or night). If you’re shaving at night, make sure you’re laying your pretty head on a freshly cleaned pillow case. Again, germs. #yechk
Ok, y’all thats my at-home dermaplaning routine in a nut shell. I even took it a step further and made a video of me shaving my face so y’all could actually see how to use the razor. It’s my first official ‘video tutorial’ and I’m kinda excited to share it with y’all, amateur and all. If you want to see some awkward shiz with me talking to the camera and trying to explain my steps press play below. ???? Seriously, I’m so awkward. It’s something I definitely want to get more comfortable with in 2019, so stay tuned on a less-awkward Lindsay on video, maybe????????? #nopromises Shout out to y’all who do this on a regular basis. MAJOR props to you because video editing is a whole new beast I’m just learning and yikes. Mine’s the basic of all basics and it took me…like hours on multiple days. #sendhelp
Thanks so much for reading! Have you ever tried dermaplaning, either at home or in a clinical setting? Share your experience below in the comments! If you have any questions email me at Lindsay@lemonstolove.com. Don’t forget to stay in touch on Instagram and Facebook for more behind the scenes and day-to-day happenings.
Lemons to Love,
Lindsay]]>


Leave a Reply
You must be logged in to post a comment.