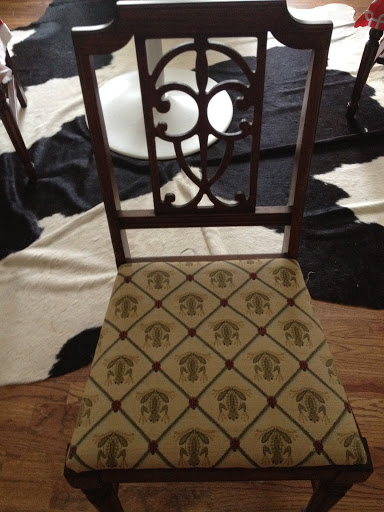
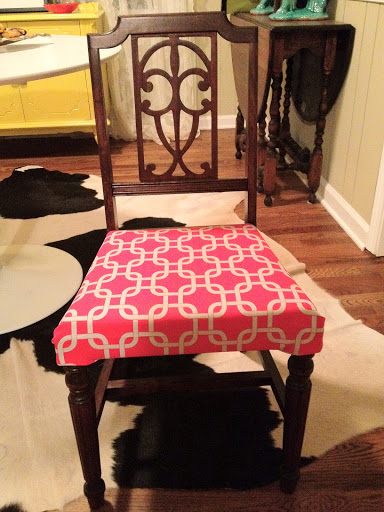
real fancy with it and add some bling like nailhead trim or upholstery trim). I actually haven’t gotten into the upholstery trim yet, but I’ve got a few ideas brewing in the brain already! Here are a few (quick and easy!) updates I’ve made on some chairs around our house. I love how a little fabric and paint can bring new life to an ol’ thing… The only place frogs should be is in a pond…
So fresh and so clean, clean! I’m thinking about painting them? But I kind of like the contrast…what do you think?
This lil guy was NOT a comfy cush for my tush…
So I added some padding and fabric left over from the next chair project…
(excuse the mess in the back, this was our ‘catch all’ room in the old house) : )
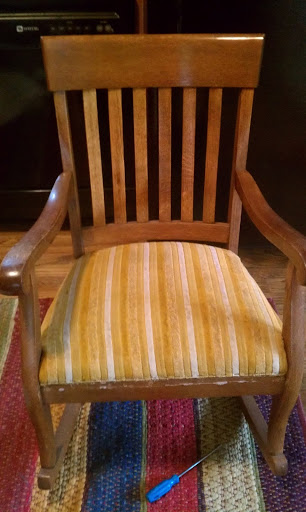
This was my Granny’s rocking chair, beautiful sturdy oak makes for a cozy rock. Look at that corduroy-lookin’ glistening gold, screaming to be recovered!
I love this turquoise damask print! I didn’t want to cover up the pretty oak, so to give it a little more updating I added a brass nail head trim all around the bottom of the fabric.
This cutie was found at an estate sale a while back. I didn’t take a before pic (pre-blogging days) but the picture below gives a pretty good depiction of its previous state.
yechk … I can smell the moldy dust from here.
Prime, paint, recover and voila!
and there you have it folks! Just a few of my simple and easy 1, 2, 3 chair makeovers! I hope they inspired you to recover, redo, or cross off a few creative projects of your own : )
Lemons to Love,
Lindsay
Don’t forget to subscribe to my blog by adding your email under
FOLLOW ME, right under MEET US.
You can also follow me on Instagram @lindsgc1105 and
Pinterest @lindsgc1105
]]>


Holly Graham says
I love them all!! I have some chairs i need to cover too! thanks for the reminder and the inspiration 🙂
Lindsay says
Thanks Hol! I'm happy you like them and they've offered a little inspirational reminder for your own home projects 🙂